
I realise I haven't got many photos of me on this blog - my excuse is that I'm the one behind the camera. But I can hold the camera and take a photo of myself, it's not that hard. And I figure I'm getting a bit old for the self-conscious, avoid photos at all cost act. So that's me folks, getting ready for some surface design play!


It's a sunny day so I decided to work outside to keep mess to a minimum. I pinned out my bits of hand-dyed fabric out on a polystyrene sheet, and spread out my reference book.
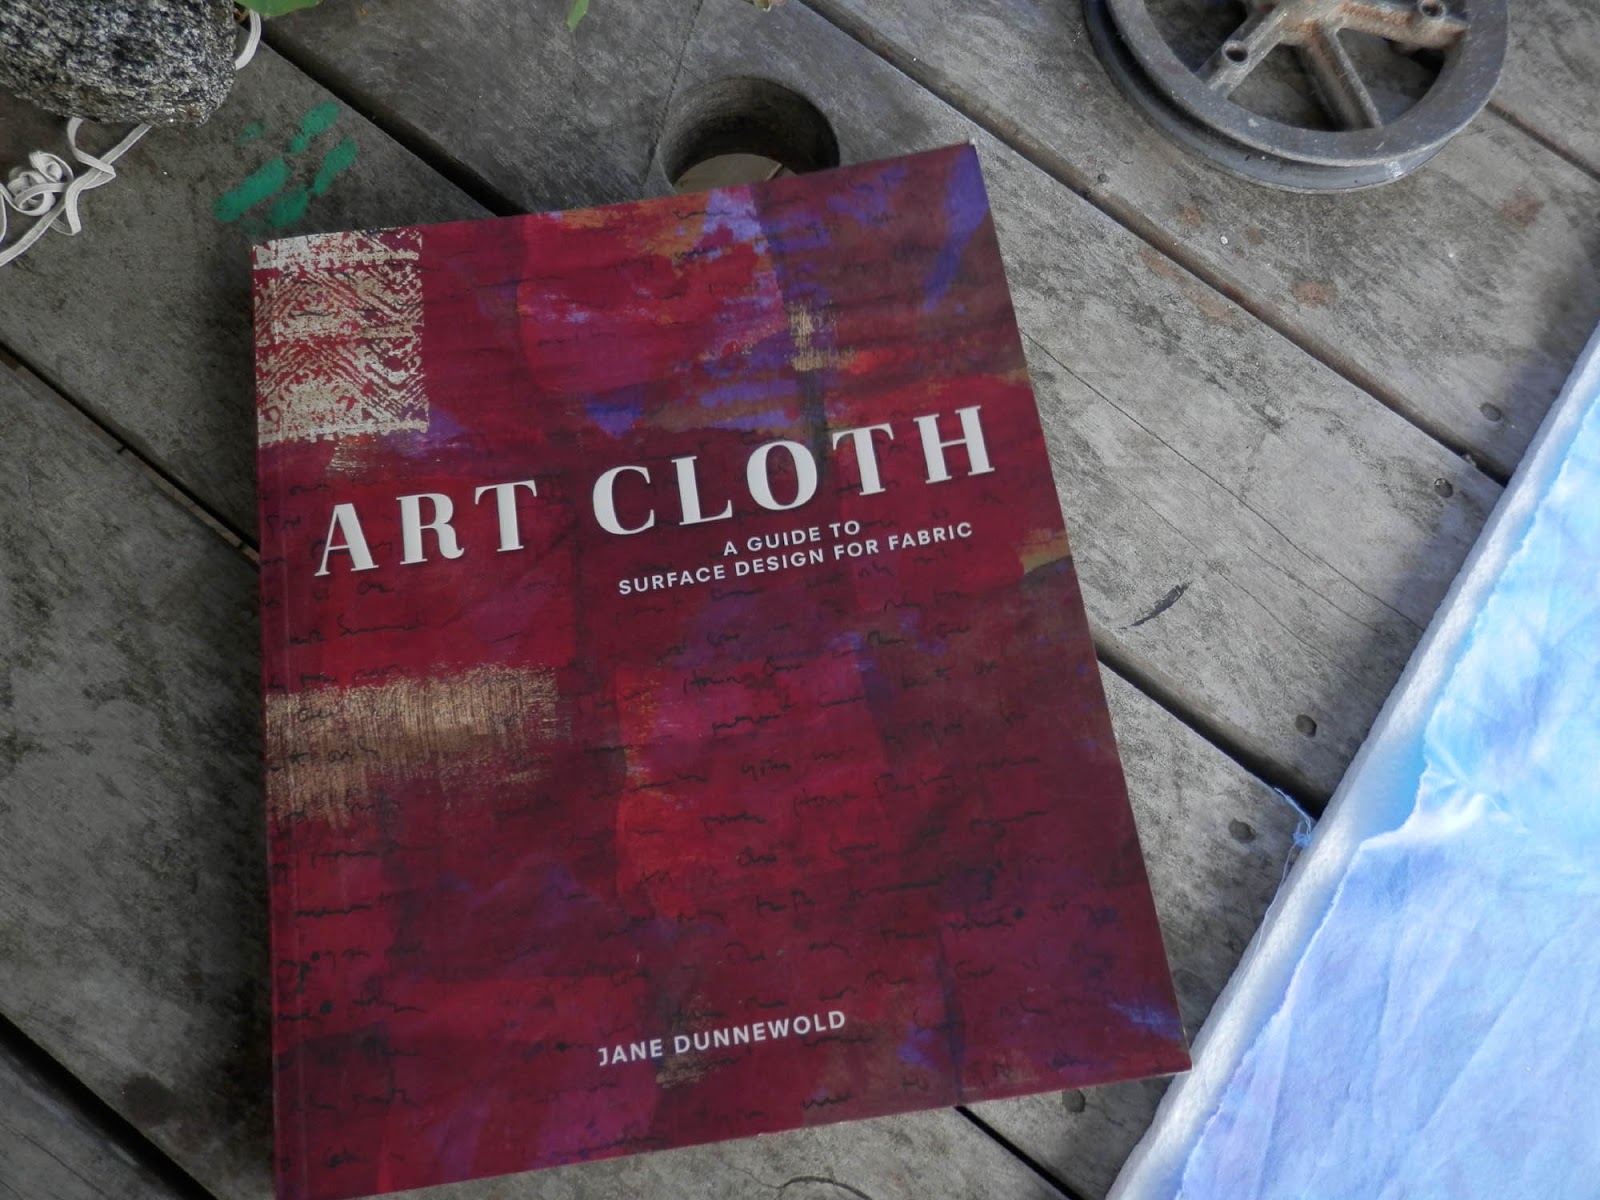
Are you looking for an excellent surface design book? Art Cloth: A Guide to Surface Design for Fabric by Jane Dunnewold, you won't regret it. There are soooo many things in here I want to try.

Today I was trying a wheat flour resist. It's easy - mix up flour and water. I started with a cup of plain white wheat flour. I ended up using about 3/4 cup of cold water. You want a batter-like consistency.

I don't own a squeegee so I used an old credit card! Pin your fabric at one end, smooth a thin layer over the fabric and then pin down the other sides. Lumps are a bit of a problem, so keep your batter as lump free as possible.

So when they are nicely covered you can get to work making marks in the resist. I had plenty of resist left over after covering the fabric. My fabric size is probably a bit more than a fat quarter.

Hubby owns an engineering shop - very convenient for pipe off cuts!

I wrote in it using the blunt end of a kebab stick. I think my resist layer was a little thick - it wasn't as easy or as clear as I thought it would be. I was going to wait and try more writing when it had dried a little more, but I forgot.

I learnt to have a rag handy for wiping your stamp off between stamps. If you don't, the print gets bigger and more uneven as the goop layer on the stamp gets thicker and picks up more of the resist. You can see that happening above with the row of circles stamped from left to right.

All stamped and done. I left some blank areas to play with the 'crackle' effect where you scrunch it up once it's dry and then your dye/paint/discharge mix goes in the crackle lines.
Now it has to dry completely. Tomorrow I'll be doing the next step. Stay tuned!
Great photo of yourself. I don't like photo's of myself, so that's one of the reasons you don't 'see' me on my blog!
ReplyDeleteI saw you running to the house as I was reading this post! Teehee.....I would be the same.
Your self portrait is beautiful - still so young and squeaky looking! Aren't you supposed to chop half your head off? And I shall wait patiently for Step Two to be revealed.
ReplyDeleteBeautiful photo ! And you can take still many selfportraits!! I like mine only from a safe distance, ha ha. I like your post - showing all the steps and I am keen to see the result.
ReplyDeleteI tried already the cornflower-water resist method. It is so stunning. I like that you tried the handwriting. Must think of that again. And thanks to mention the book -
Nice to see you on the blog now instead of gumboots. And yes it is a great photo too :-) Looking forward to the next post to see how all this fabric turns out.
ReplyDeleteGreat to see your pretty smiling face Charlotte! know what you mean about "getting past" being self-conscious and putting yourself "out there' for the world to see...it's a scary thing!
ReplyDeleteWoohoo for having some you time :0) I grinned when I saw that book...I'v just recently bought a copy too! Can't wait to try some resisting myself, not I see you doing it!
Good on you with a photo - it is so nice for the reader to be able to 'connect'!! Although I can always relate to a pair of gumboots!!!! Interesting to see what you have been up to.I'll scroll ahead to see how they worked!
ReplyDelete