My name is Charlotte, sometimes known as Ms Lottie, occasionally as The Slightly Mad Quilt Lady. This is my blog, where you'll find me writing a lot about my quilting and textile arts and a little about my family's life in a small seaside town in New Zealand. Haere mai!
Showing posts with label birds. Show all posts

Monday, June 29, 2020

Merit Award in the Aotearoa Quilters Aqua Challenge

Aotearoa Quilters runs a colour challenge every year or so, and this time around the theme colour was aqua. They also changed up the size (usually a 12" x 12" square) this time they chose a 12" x 16" rectangle in a portrait orientation. I confess to enjoying the rectangular shape more than the square, it's easier to work with design-wise. But I know squares fit together beautifully on an exhibition wall, so it's swings and roundabouts.

And I was delighted to win a merit prize! Those are the good emails to open. The unexpected ones that tell you you've won something (and not $7.3 billion from a nice man in Nigeria!)

All the entered quilts will be on show at the Taupo Quiltmakers exhibition called Pearls and Water. This is on at the Great Lake Centre, Taupo, October 2nd till October 4th and would be well worth a visit. 

When you think of aqua, what colour do you think of? Greeny-blue? Bluey-green? Teal? Kingfisher? Here's a screenshot of when I search for images of aqua colour - what a variation! 


So I did a colour pull of all my 'aqua-ish' fabrics to get more of an idea of what I had, and to see if anything sparked my ideas button.


As you may know if you've been reading my blog for any length of time, birds feature heavily in my quilts. I have been working with birds in flight recently so I decided to downsize the shapes I'd been working with and play with them on the surface of a piece of aqua hand-dyed fabric I found.


They fell into place so nicely, with such a great sense of movement, that the design didn't take long to finalise at all. The colours of each bird travels from dark teal to lightest sea foam, with a dark purple for some visual interest.


I know this is an absolutely terrible photo, but it gives you an idea of how I sometimes plan quilting lines. This is a photo of the quilt top, placed in a page protector and then drawn on with a dry erase marker.


I finished the quilt with a facing as I felt a binding would constrain the birds and you would lose the sense of them flying off into the distance. I named the quilt "Let Your Spirit Fly Free" in dedication to the first Covid-19 victim in New Zealand, who passed away around the time I was making the quilt.


I quilted it using my trusty domestic BERNINA Aurora 440 as the quilt was nice and small and this machine gives me great control over my free motion quilting. The threads are tied and buried. 

All the quilts will be for sale for $150, and I'd be pleased if it went to a new home. But I'd also be secretly pleased if it came back home after touring New Zealand, as it's one I'm really pleased with and it reminds me of the strange and difficult, but weirdly beautiful time that NZ's Covid-19 lockdown was for me.

The winning quilt and the other merit prizes can be seen on the Aotearoa Quilters Facebook page. I'd like to thank the sponsors who make the prizes possible, especially Quiltique who sponsored my prize. 

Tuesday, June 9, 2020

Skulls and Thorns

When I last spent some time writing in my blog, we were moving out of Level 4 lockdown for the Covid-19 pandemic, so it's quite fitting that now, when I've taken up my pen keyboard again, it is the first day of Level 1. New Zealand has NO active cases!

My desktop died a sad and sudden death a few weeks ago and that really put a halt to my intended regular blogging activity. I can do it on my other devices but it just isn't fun.

Anyhoo, here I am once again.

I have a video for you today. A little free-motion quilting video that I shot yesterday. It's fun videoing myself quilting, I like watching myself and figuring out how I could improve my own skills, or how I could better teach others from what I'm saying and pointing out.

The quilt I'm quilting is one I've been working on off and on for a little while. It started as a hand-stitching project and has evolved slowly as I've thought about it and come across images and symbolism that I've wanted to use.

I had a long narrow piece of my hand-dyed fabric and I fused down the leaf shapes into a circle shape. I like circles, they are very feminine and I find they relate heavily to my profession as a midwife - moons, cycles, pregnancy etc etc.  

The leaves are made of hand-dyed silk organza - scraps from larger pieces that I've used in other quilts.

I was also playing around with some off-cuts of a hand-dyed linen table cloth, those are the funky shapes under the circle, but they didn't make the cut and got put back in the scrap bin.

I spent the Christmas holidays doing embroidery using my hand-dyed threads. I tried to use a different stitch for every type of leaf just to up the interest factor, but also to add some cohesion between the groups. I still had no idea what I was going to do with the panel, but ideas started flowing as I sat and stitched.


I cut a large piece of hand-dyed cotton in half and sewed one half to each side of my middle panel. I wanted to increase the size because I'd finally had an idea of what I wanted to add.


This beastie hangs on a wall under my house where I used to dye my fabrics. My husband is very proud of his 12 point red stag, and skulls have a lot of symbolism for me too. I particularly like the way the antlers curve back towards each other - what could they be circling and holding within them?


To offset the grimness of the skull and to constrast masculine and feminine ideas, I fussy cut a preloved tea cloth for the bone.

It looked very flat until I began adding the highlight stitching. I use my quarter inch foot on my Bernina 440 when I'm doing detail stitching and raw-edge applique, as it's nice and narrow and I can use the inside of the foot to help me eyeball where the line of stitching should go in relation to the edge of the fabric. 


But I'm getting ahead of myself. Before I stitched the skull, I used paint and stencils to add vines, then I used silk organza to add another layer of vines, some with vicious thorns. Vines for the curves, thorns for the contrast.


I also used paint and stencils to add a flight of birds curving up and around, another circle.


And now I'm up to the quilting. You may have noticed that I haven't shown an image of the whole flimsy before quilting. I've decided that I want to keep in secret and not show the whole until I'm done. I'm not sure why but bear with me!

You can see a little more in the video of me quilting one of my thorny vines.


Happy stitching everyone!

Friday, April 24, 2020

Lockdown Day 30


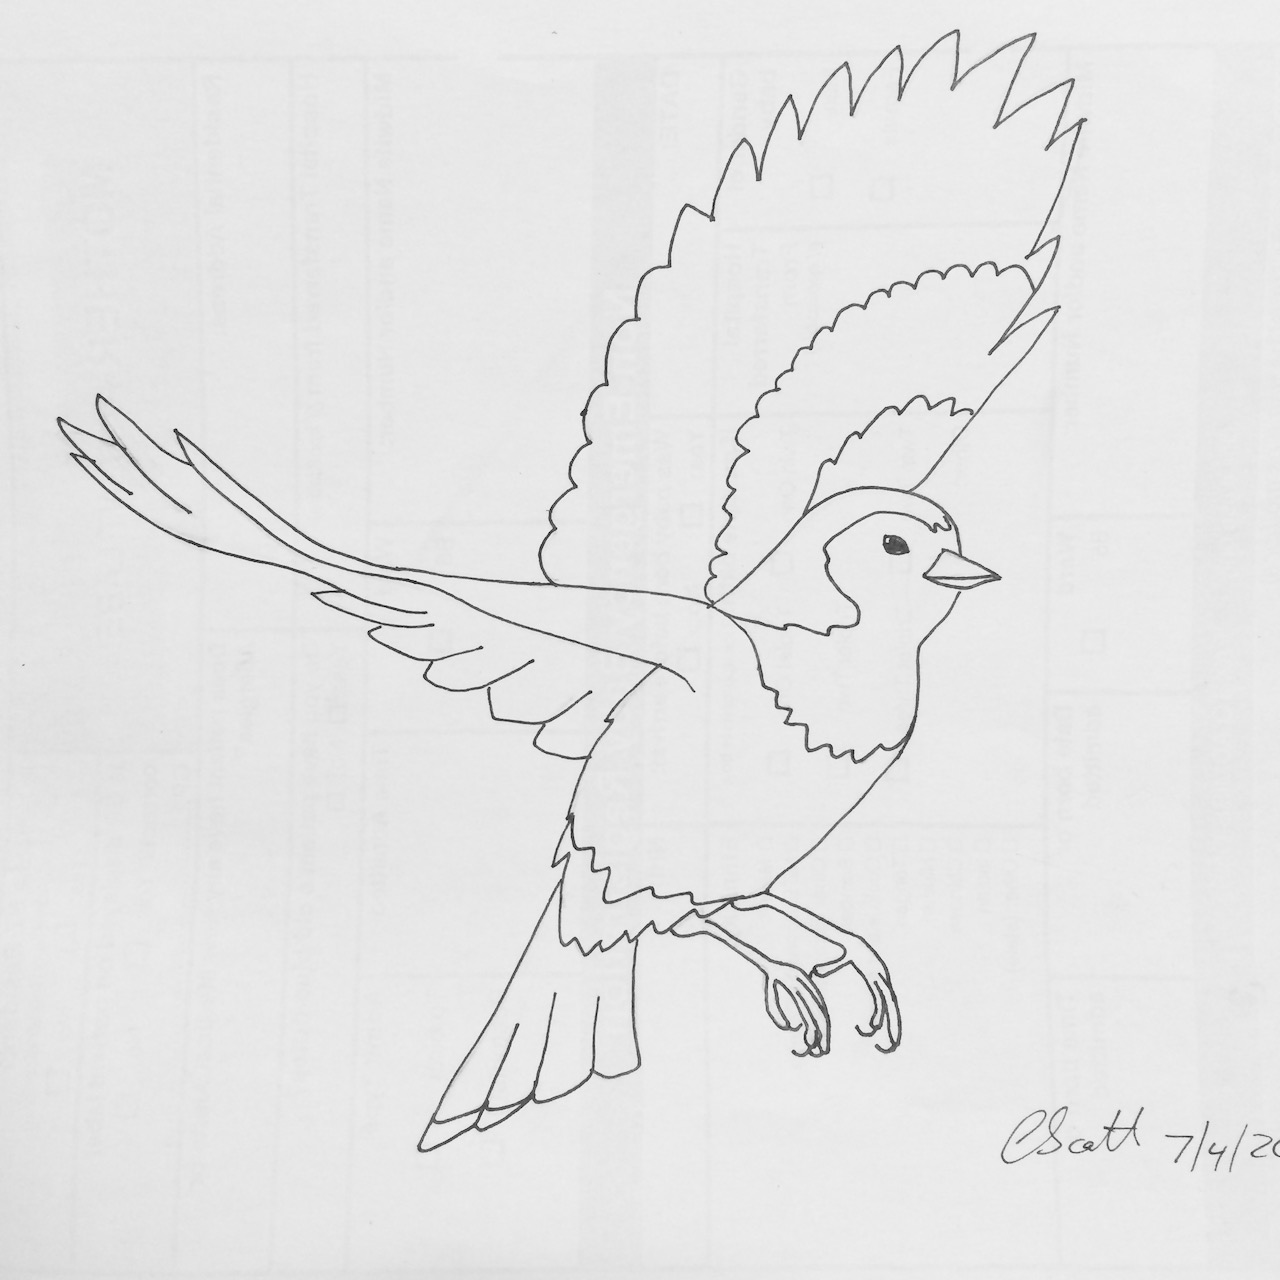
Three little dickey birds. I'm wondering what to do with these? Should I turn them into applique designs? Or what about embroidery designs?

I'm considering putting together some sort of embroidery kit with my own drawings, my hand-dyed threads and hand-dyed background linen. It'll include simple instructions, a hoop and a needle. And maybe I'll put it all in a little bag made from my own hand-dyed thread.

What do you think?

Monday, March 30, 2020

Lockdown Day 5

I almost forgot to post today. But here I am again. Day 5. On a Monday that feels like a Sunday. School again for the kids. Beautiful Autumn weather.

I got quite a bit of work done on my Aotearoa Quilters aqua colour challenge quilt today. It's due 1st of June, so plenty of time, but it feels good to work towards checking something off a list. I can't show it in it's entirety because of the rules of entry, so here is just a snippet.


I'm going to call it "May Your Spirit Fly Free" in honour of Anne, the first NZ'er to pass away from Covid-19 infection.

All I have left to do on it now is hand-stitch down my facing and add the hanging sleeve. And label it. Oh, and make the cloth bag to protect it. And photograph it and document it. And do the entry form, payment and postage. Why does it always feel like I'm are almost done when I get to the binding or facing, when clearly I'm not even close?!

The aqua challenge is open to both members and non-members of Aotearoa Quilters. Basically you make a quilt that is any style, technique and theme, it just needs to be predominantly aqua coloured. And 12 inches wide by 16 inches high. If you want more info, click here.

Thursday, March 27, 2014

Retrospective: Tweet Quilt

I was working with my students last night at the beginner quiltmaking classes I run (last one - they gave me chocolates to say thank you!!), when it occurred to me that I never showed the full pictures of the commission quilt I made back in September last year.

I was using one of the birds as an appliqué pattern for my students and they really liked it so I wanted to show them pictures of the quilt it came from.


What was tricky about this quilt was all the fabrics.  The woman who I was making it for asked her friends to bring pieces of fabrics to the little girl's second birthday party with the intention of putting them into a 'keeping quilt'.  Of course, because they all came from different people, none of the fabrics were particularly coordinating!

I had a pinterest board to work from, which was a big help in designing the quilt.  Adding lots of white space made most of the fabrics play nicely with each other.  Then I used all the NZ themed fabrics on the back with a black and white strip, black and white being very 'NZ' colours.


There was a woollen scarf in the bunch of fabrics and the suggestion was to use this for a tree branch, which I was nervous about but it worked out great.


I added more fabrics from my own stash to bridge between some of the original fabrics and I had great fun drawing up different bird shapes.  And the one last fabric that I just couldn't make it go with anything else, I made into a bag to put the quilt in.


It's the first time I've made prairie points and they were so much fun!  I think they added lots of texture to the quilt and really finished off that central image.


I free-motion quilted it with wavy lines in the sky, grass like lines in the foreground and a line of loops and a line of flowers in the border.  I also added the child's initial, a dragonfly, a heart and a leaf into the corners for whimsy.


I changed my bobbin thread colours as I went so you would see the 'picture' on the back too.


I machine bound the edges, because I was running out of time and I think it's a stronger finish for a child's quilt.  And then, to finish it all off, I made a little doll quilt for the girl's dolls.  And I still gasp at how cute that is!  How about that striped binding?!


So there you have it.  It was a great challenge and I was incredibly nervous about whether they would like it or not, but I had a wonderful message back about how much she loved it.  Yay!

Hope you enjoyed the pictures.

Wednesday, November 13, 2013

Another UFO bites the dust

Sorry for the radio silence lately - my internet has been down - peaceful at first and then frustrating!

I've been thinking about my pile of UFO's or WIP's - yeah, I know, nothing new about that!  But I do want to whittle them down.  I was taking stock today and I saw this piece in the stack.


It's been taking up valuable real estate in my cupboard for several years.  I don't even know what it was intended to be.  Some sort of fractured/stained glass thingy that I had fused and then appliquéd random patterns, not even around each edge so not very stable!


So I shoved it under my needle and quilted it in black thread around each piece of coloured fabric.  It gave it a sketchy look I liked and would help hold the fused bits of fabric down.

Then I found Catherine Parkinson's tutorial on making little pouches/purses out of practice quilts and followed the instructions.  Catherine is a New Zealand blogger who quilts and photographs and sketches and is well worth checking out.

There were a couple of things I did differently.  In step 8, you need to put your pieces right sides together - but you'd have figured the out anyway.


When you are stitching two layers together around the edges to then turn right sides out and you have to leave a gap to turn them through, I always mark when I have to stop stitching with a double pin.  It must be the way my brain works, but too many times I've kept on going right the way round the whole edge - doh!

I used a popper, or dome fastener instead of stitching on velcro - but that's personal choice.  They are easy to put in, you just need a cheap tool that you buy at the same time as the domes, a hammer, some brute force and a little bit of patience to line them up.

I ended up with two cute little purses.  The back one has been claimed for my rotary cutter and the front one will go in the 'to be gifts one day' stash.


Yay!  One UFO finished, one cute pouch for me, one gift for my gift stash and one happy quilter! (and one gap in my cupboard - does this mean I can start another project?)


I'll leave you with an image of what's happening outside my back door.  Tui feeding on flax flowers - so lovely to watch.

Sunday, October 13, 2013

Photography

Today was the last day of school holidays.  Big sigh of relief from me!  Yesterday we thought we'd make the most of our last day with visiting cousins and get out and about.


My hubby picked us up from Parekura Bay in his boat and took us for a short trip to Urupukapuka Island.  Looks really picturesque, huh?  Well you could lean at about a 45 degree angle and not fall over...howling gale!


We took a walk to a slightly more sheltered beach where I practiced my photography.  These are variable oyster catchers.


The endangered dotterel was tricky, they don't stand still for long.  He was flipping seaweed over to look for critters.


Aren't these colours intense?  And not a photoshop in sight I promise!  See the shags?  (Comorants, for those non-Kiwis).


Here they are closer.


And closer still.


They were having trouble drying their wings because the wind gusts would buffet them too much.


And just a couple of shots of a couple of my beautiful nieces.  They sometimes sit still longer than a dotterel...

It was a beautiful day despite the wind.  And then we finished it off with scallops for dinner.  Yum!

Saturday, June 22, 2013

Welcome Swallows on a cold day.

We've had a bit of a cold spell the last few days.  Southerly winds whistling up from the Antarctic.  Brrrr.  Wellington was hit very hard by stormy conditions and in the South Island there was lots of snow.  Up here at the top of the North Island, we don't get snow, thankfully, but we still had lots of rain and wind.  Today it's still cold but at least there was some sunshine.

When it was really cold I snapped these pictures of Welcome Swallows outside my studio window.  They perch on the firewood bin and in Spring they build their nest up in the rafters (and make a heck of a mess).


I don't know what was so interesting up above their heads, but periodically one would take off and dart around.  It's their flitting and swooping that has inspired the Swallow quilt I'm working on.


They were all puffed up with the cold.  I think Swallows migrate in Winter to warmer climates in other parts of the world, but not in NZ.  They self-introduced themselves from Australia in the 1950's and feed on flying insects.

Hopefully they've found somewhere warm to roost.  It's time for me to cuddle up next to the fire with my book.

Friday, June 14, 2013

What's on my design wall?


Chocolate fish if you can guess what birds these are.  My husband couldn't pick them straight away so now I'm a little worried that they are not obvious.  And they are a type of bird that I'm hoping is easy to recognise, so help me out and tell me if the clueless one is me or him!  (Maybe I just spend more time staring at the sky than him?)

Tomorrow is our second Saturday Stitch and Chat.  Our quilting club is holding one a month to try and encourage new members and people who can't make our weekday meetings.  Last month we had some total newbies and it was exciting to see them interested and keen.  So I'm off to my studio now to try and figure out what I'm going to work on and what I'm going to bring to show any potential quilt addicts.


Sunday, December 23, 2012

Ghostly


Here's a sequence of photographs showing what happened to one of my white fat quarters.  You can see the black lines drawn with a fabric marker in a rough grid pattern underneath.  Then I scraped on red fabric paint with a tiling tool.


I diluted some of the red paint with water and used a foam brush in another grid pattern.  I put it out to dry with bits and pieces on to try and get a sun print but that didn't work.  No matter.


A week or so later, my daughter was painting with acrylics and squeezed out way too much.  So I mixed her colours up with some textile medium, ironed down some leftover freezer paper shapes I had and rolled (using a brayer) the paint over the shapes.  


That technique wasn't so successful.  The brayer would catch the edge of the freezer paper and roll it up around itself and so I couldn't go back to cover the shape entirely.  


But I'm still really happy with it.  I like the ghostly image.  The not-quite-there glimpse, which is similar to the flash of bird you often see in real life.  Just an impression as it flits by.


What do you think?