My name is Charlotte, sometimes known as Ms Lottie, occasionally as The Slightly Mad Quilt Lady. This is my blog, where you'll find me writing a lot about my quilting and textile arts and a little about my family's life in a small seaside town in New Zealand. Haere mai!

Sunday, August 26, 2018

Anchor Me

Sometimes the smallest things can be the most satisfying.

I'm in the process of making a particular quilt, it shall remain secret for now, that would suit a nautically themed backing.  I searched my stash to no avail, and I searched NZ fabric websites also to no avail, and so I ventured to Spoonflower.

Spoonflower, for those of you who have no idea what a flowering spoon is, is a fabric print-on-demand website.  You can design your own fabric and have it printed on numerous different substrates, or you can use another users' design if they have allowed that (they get a small commission).

Oh dear me.  Bowled over by the delicious mermaids, whales, and waves that I found, I decided to focus on something simple, like an anchor.

Then I thought, I can make me own, me hearties....

And so I did.  And I was very pleased.


Fun foam, a craft knife, and a hot glue gun.  The stamp is on the left, my practice stamps on a bit of paper in the middle and a test on some fabric on the right.  Now I'm waiting for some fabric stamp pads, mine being almost at the end of it's life, and I'll print up a length suitable for backing my quilt.

PS For those non-New Zealanders, the title of this blog post referes to an iconic NZ song by The Mutton Birds.  I've embedded it here for your education and enjoyment!


Thursday, August 16, 2018

100 Days of Reworked Cloth 2018

My 100 days project for 2018 is more than halfway through, but I'm lagging behind a fair bit due to work commitments and holidays in Rarotonga.  However, I'm not feeling too bad about it because I've already had positive effects from my participation, and I anticipate more before the project is through.

One of the positives is that I've really resparked my dyeing practice.  I thought it would be difficult in this house we've moved into, but with a little bit of work and a fair few plastic drop sheets, I've found ways to make it work.

Dyed fabrics drying in my back deck dye 'studio'

Another of the positives is finding ways to sell my work.  I had some enquiries, so began a process of photographing pieces of hand dyed cloth and posting them in a shop section on my Facebook page.  It was a pretty easy thing to do that I'd been putting off because I thought it would be more difficult.  Turns out it's easy, and I'll be gradually adding more as the days go by.

(You can see what is listed here https://www.facebook.com/pg/opuaarts/shop/)

The best positive is the notes I'm taking.  I have always taken notes on my dyeing, but not nearly as extensively as I should have, but I'm being very careful with this project and keeping good samples of the fabrics before I've changed them.  I can already see how useful this will be.

One of my favourite experiementations of my 100 days of reworked cloth so far is the overdyeing that I've done.


I began with the olive green fabric on the above left and ripped it into twelve pieces.  I then overdyed each piece with a full strength mixture of my most usual dye colours.  On the left, from top to bottom, is overdyeing with black, turquoise, mid blue and navy.


This one is golden yellow, lemon yellow, red and fuchsia.


And this last section is purple, bright green, grass green and sea green.

This lot inspired me to do further sets, using base colours of blue, yellow and red.


Above is the blue, with black, turquoise, mid blue and navy.  And below is the yellow and red with the same set of overdye colours.  It's so interesting to see how the different base colours effect the 'topcoat'.


I love how the two layers make the dyes so much richer and more interesting.


This won't just be useful for when I'm doing a complete overdye, but also if I want to print patterns with a second or third colour.

I also think I need to do some colour wheels and dilution scales, which is departing a little from reworked cloth, but it's my project, so I guess I can do what I like!

Wednesday, August 8, 2018

A Quilty Weekend

Foyer window at Caccia Birch House

Last weekend was the Aotearoa Quilters (AQ) International Quilt Expo at Caccia Birch House in Palmerston North.  Caccia Birch is a beautiful old historic homestead with amazing wood panelling inside.  I could imagine taking tea in the parlour (said with a very posh accent) or taking my morning constitutional stroll around the grounds - my parasol up to protect my complexion of course... Although no need for that over the weekend!


AQ is the national association of quilters in New Zealand and we were having our AGM, so the hard-working committee organised an event around it.  There were great quilt exhibitions including the PINK colour challenge and the Art Deco challenge - both of which were exhibited for the first time and had the winners revealed.  The International Wonders of the World challenge was being shown for the last time in NZ before it heads to Europe, and the Hoffman challenge and the AQ travelling exhibition from Symposium were also there.

One wall of the Art Deco Challenge

This was my favourite of the Art Deco challenge entry.  Melanie Martin used blue velvet and metallic vinyl like fabric to create this art deco pattern.  Her mastery of such difficult materials was astonishing!


The winners - Sonya Prchal took out first prize.

There were three wonderful merchants:  Brother was the main sponsor and Fox Cottage were demoing their machines.  Plume was there and Jenny sold me the most wonderful inspiration book called 'Art Quilts International. Abstract & Geometric' by Martha Sielman.  Lastly, Fabric by Three were doing a good trade in their hand-dyed, colourful fabric.

Pink Challenge winners.  Sonya Prchal took out first prize in this one also - congrats!
This was my viewers choice, which I believe was by Lois Parish Evans.
Here's my pink entry, titled 'Flamingo Four Ways'
And the wall of pink!

I had the honour of being invited to be the guest speaker after dinner at the AGM and I'm really thrilled and relieved that it went down well!  I steered away from a more traditional trunk show or talk about my subject matter and chose to delve into a deeper conversation by discussing the future of in person quilt groups, including presenting the research findings from the little survey I posted a wee while back.  


It was Cook Island week, so there were Tivaevae classes running through the weekend.  I had a go and I think I got the hang of it after a bit of an ugly start!

Sunday saw more excited people coming through to view the exhibitions.  There was a cafe on site too, offering a cup of tea or bowl of soup and a piece of cake for those needing sustenance.  Then in the afternoon, the Golden Threads Quiltathon began!

Five teams were competing to make a cot quilt in 60 minutes.  We chose a mystery pack of fabrics donated by Tiffanies Fabrics and then off we went!

The Triple T Team - because we came from Top to Toe locations around the country.  From left to right: Fliss, Marie, myself and Bev.

Our winning cot quilt.

And our Triple T Team won!  It was a lot of fun with the lovely Robyn MCing, lots of jokes, a bit of sweat, thankfully no blood and five quilt tops that will be finished into quilts and then donated to Cozy Kiwi Kids to keep kids warm around NZ.

The next big AQ show will be The Great NZ Quilt Show, to be held in Rotorua March 8-10, 2019.  Hope to see you there!

Wednesday, July 11, 2018

This made me smile

It's such a lovely feeling when someone you don't know sends you a photo of a quilt they made from your pattern.

Femke, from the Netherlands, followed along with my Pacific Stars Mystery Quilt instructions that were posted over on Carol's Quilts last year and made her own beautiful version.

Here's what she says about it:

As promised I send you the result of my quilt inspired by last year’s The Mystery Pacific Quilt.  I renamed it as “The Mystery Forest Quilt” and although I knew the lay-out, I was surprised to see the entire quilt when all the blocks were finished.


I love how the use of colour can transform the mood of a quilt.  Femke has taken the pattern and made it her own and I'm really grateful she took the time to send me a photo.  Thank you Fem!

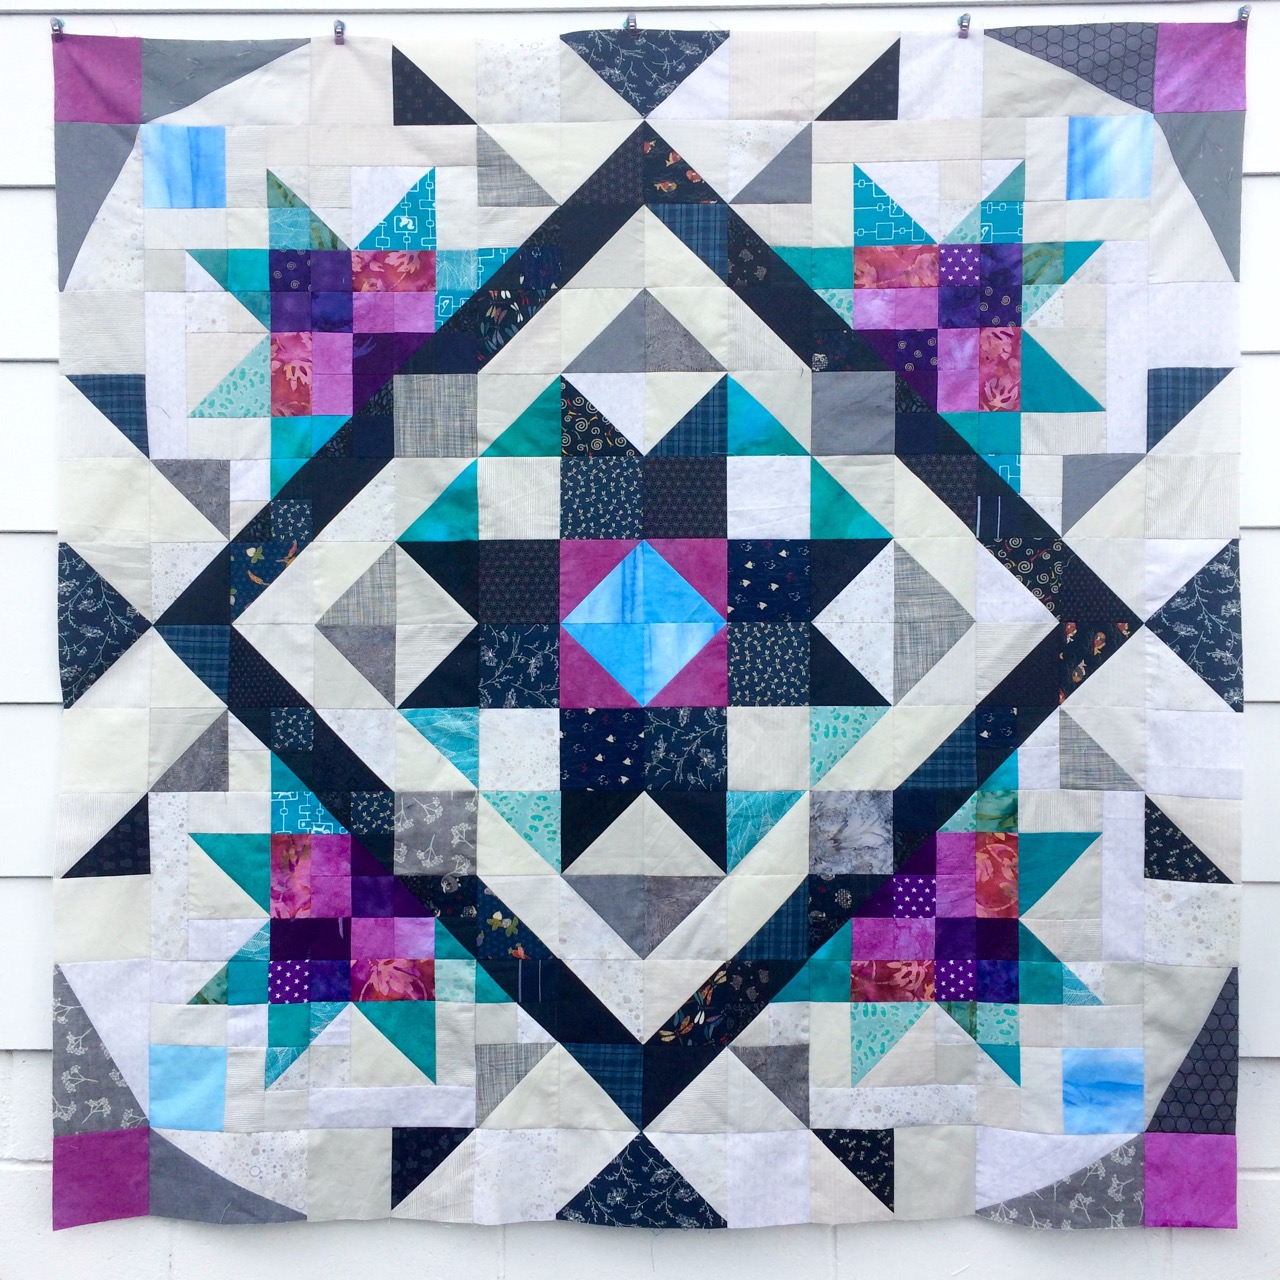
Here's a photo of my final layout just for comparison:


Saturday, June 30, 2018

100 Days Project 2018 - Reworked Cloth

Back in May I wrote about my upcoming 100 Days Project.  Well, it's started, and today is day 20.  My project is all about experimenting with adding layers of surface design over the top of my already hand-dyed fabric.  You can read more about how I came up with that project back on the original blog post.

I asked for suggestions for names and hashtags and Linda suggested #100daysoflayers.  I was going to use that (thanks Linda!) but it's already been used on Instagram for a few other things - beautiful things actually, you should go and search that hashtag when you've got a minute.  In the end I spent some quality time with my thesaurus and came up with #100daysofreworkedcloth.  Still a bit clunky, but at least it's all mine - so far.

Day One Fabric, before and after.

Twenty days means I'm one fifth of the way through, but I feel like I'm just getting started.  I've generated 20 new fabrics, but I've also generated many more ideas and questions and leads to follow.

For example, should I try every technique in high flow acrylic inks AND dye to compare the results?  Should I do one technique in multiple colour ways?  There's so many techniques available to me, should I simplify by just sticking to dye and not paint?  What if I used a foam roller rather than a hard brayer to spread the dye paste onto that leaf?

I'm not sure of any of the answers to those questions.  So I'm just continuing, with not much planning at this point, but having a lot of fun.

One thing I'm glad I did, is set up a good note taking process before I began.  I take a photograph of the fabric before I begin and snip a swatch to put in my book.  I make and create, and then once the fabric is finished, I photograph it again and snip another swatch.  In my journal I make extensive notes about what I did, the colours I used etc.


The process falls down sometimes when I forget to take a photo before I start, but I'm getting better at  working ahead a bit and photographing things in batches when the light is good.  At the end of the project I'll have a book full of 100 surface design samples, so I'll have something very concrete and usuable for years to come.

Day 10 Fabric, before and after.

Because I'm only doing one or two pieces a day I can spend some time considering my results more than I would if I had spent a whole day dyeing fifty pieces of fabric.  It's this musing that is leading to all the questions I talked about earlier.  Sometimes the project feels like it could grow exponentially (and out of control!)

I'll check back in when I have a few more favourite fabrics to share, but for now here's day 14 before and after, which I think is my most dramatic change, and day 4, which I think is my weirdest...